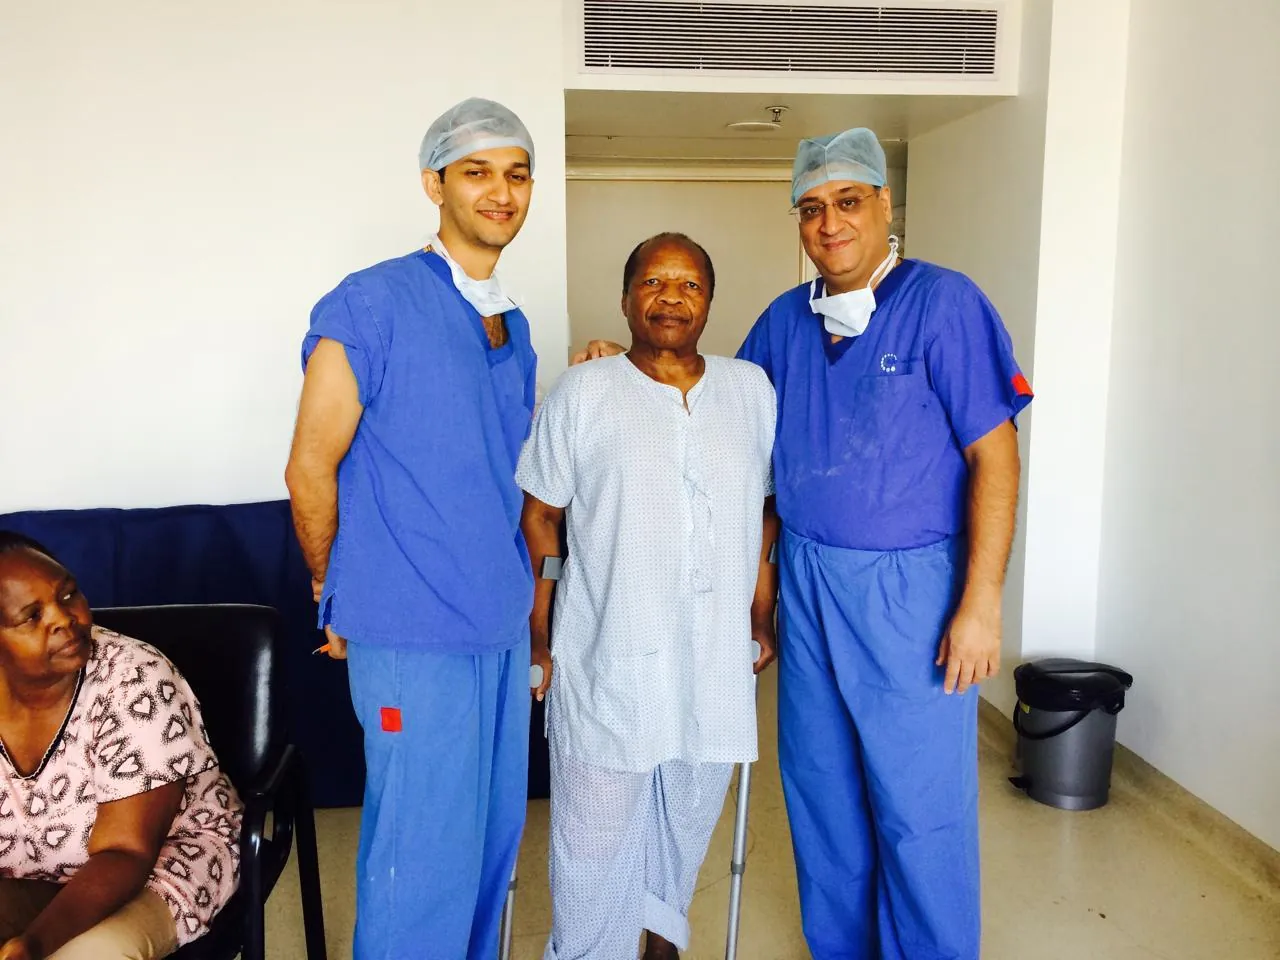
After a total hip replacement, Dr. Vinay S. Joshi's patients at Kokilaben Dhirubhai Ambani Hospital begin ankle pumps and gentle hip movement on day one, start abduction work in week one, add standing hip extensions in week two, and build a walking programme from week two onwards. Most patients walk unaided by six weeks.
A hip replacement recovers faster and more predictably than a knee replacement, which surprises many patients. The joint is inherently more stable, the muscle envelope is larger, and pain settles sooner. What the hip does demand is specific attention to the abductor muscles — because it is abductor weakness, not pain, that leaves patients with a lasting limp.
Hip precautions: the first six weeks
Precautions follow the surgical approach, and Dr. Joshi's routine approach is the modified Hardinge — a direct lateral approach in which the front third of the gluteus medius is split from the rest, the hip is replaced, and the abductor muscle is then repaired. It is a more demanding exposure than the posterior approach, and it is chosen for a specific reason: the direct lateral approach carries a markedly lower dislocation rate, reported in the literature at under one per cent, because the posterior soft-tissue restraints are left intact.
Do not sit on the ground · do not cross your legs. Both restrictions apply for six weeks after surgery, while the repaired abductor and the soft-tissue envelope heal.
In practical terms that means using a chair rather than the floor, a raised toilet seat rather than a squat toilet, and keeping the ankles apart when sitting or lying. A long-handled aid for socks and shoes saves a good deal of awkward bending in the first weeks. These are temporary restrictions that protect the repair — they are not permanent limitations on the hip.
Because the abductor muscle is divided and repaired in this approach, the abductor exercises below matter more than they would after a posterior approach, and they matter earlier. Post-operative abductor weakness is the recognised trade-off of a direct lateral exposure, and it is the thing a good rehabilitation programme is designed to prevent. If you do only one exercise in this guide, make it hip abduction.
Dr. Joshi will confirm your own precautions at discharge, and they take precedence over any general guidance — including this page.
Day 1: circulation and activation
Ankle pumps and circles
Pump the foot up and down for two to three minutes every hour while awake, and draw slow circles with the foot. This drives the calf muscle pump and is the principal defence against deep vein thrombosis. Begin the day of surgery and continue for at least six weeks.
Static gluteal and quadriceps sets
Squeeze the buttock muscles together, hold five seconds, release — ten repetitions, three times a day. Then tighten the thigh muscle to press the back of the knee down, hold five seconds. These re-establish the neuromuscular connection to muscles that switch off after surgery.
Heel slides
Slide the heel towards the buttock, keeping the kneecap pointing at the ceiling and staying within the 90° limit. Ten repetitions.
Week 1: abduction and early standing work
Lying hip abduction
Lying on your back, slide the operated leg out to the side and back to centre, keeping the toes pointing at the ceiling throughout. Ten to fifteen repetitions, three times a day.
This is the most important exercise in the entire hip programme. The abductor muscles — gluteus medius and minimus — stabilise the pelvis when you stand on one leg, which is what every single step requires. Weak abductors produce the Trendelenburg gait, the characteristic hip-drop limp, and it is preventable rather than inevitable.
Standing hip abduction
Holding a support, lift the operated leg out to the side, keeping the trunk upright and the toes forward. Do not lean away from the leg. Ten repetitions, three sets.
Week 2: extension and the walking programme
Standing hip extensions
Standing at a support, move the operated leg backwards with the knee straight, hold two seconds and return. Three sets of ten. This strengthens the gluteus maximus, which drives the push-off phase of walking and is essential to a normal gait.
Standing hip flexion (marching)
Holding a support, lift the knee to hip height — no higher, respecting the 90° limit — hold, and lower under control. Ten repetitions, three sets.
The walking programme
Walking is the most natural and most effective rehabilitation for a new hip. Begin with five-minute walks three times daily, building towards twenty to thirty minutes by week four. Use the prescribed walking aid until Dr. Joshi clears you to walk unaided — usually around six weeks. Concentrate on an even stride length and heel strike rather than distance; walking well matters more than walking far.
Weeks 4 to 6: progression
Mini squats
Holding a worktop, bend both knees to about 30–45°, keeping the weight through the heels and respecting the hip flexion limit. Three sets of ten.
Step-ups
Using the bottom step, step up leading with the operated leg and down leading with the other. Ten repetitions, building gradually.
Bridging
Lying on your back with knees bent, squeeze the buttocks and lift the pelvis clear of the bed. Hold three seconds and lower. Three sets of ten. Excellent for gluteal strength without loading the joint.
Side-lying abduction
Once cleared, lie on the non-operated side with a pillow between the knees and lift the top leg, keeping it in line with the body rather than drifting forward. This is the strongest abductor exercise in the programme.
Stationary cycling and swimming
Static cycling can usually begin from around week four, with the saddle set high so that hip flexion stays within limits. Swimming — front crawl or backstroke, avoiding breaststroke leg kick initially — is excellent once the wound is fully healed.
Months 2 to 6: strength, balance and endurance
- Progressive resistance work for abductors, glutes and quadriceps, with bands or light weights.
- Balance and proprioception work — single-leg stance, progressing to an unstable surface.
- Longer walks, including gentle gradients and uneven ground.
- Cycling, swimming, golf from around three months, and dancing as confidence returns.
What to avoid long-term
- Running and jogging on hard surfaces — impact loading accelerates bearing wear.
- High-impact sport — football, squash, basketball.
- Heavy lifting, particularly repeated lifting from the floor.
- Deep squatting and low seating beyond the precaution period — discuss with Dr. Joshi, as advice varies with approach, bearing and implant stability.
- Twisting on a planted foot.
When to stop and call the team
You feel or hear a clunk followed by pain and inability to weight-bear, which may indicate a dislocation · new calf pain or swelling · increasing wound redness, warmth or discharge · fever · the operated leg suddenly feels shorter or turns outwards · sudden severe groin or thigh pain. A suspected dislocation is an emergency — go to the hospital.
The knee exercise programme covers the equivalent for knee replacement patients, and the patient guides hub sets out preparation before surgery and long-term joint care.
Frequently Asked Questions

Consultant Orthopaedic & Joint Replacement Surgeon and lead of the Arthroplasty team at Kokilaben Dhirubhai Ambani Hospital, Mumbai. Twelve years of specialist training across five UK orthopaedic centres, with further fellowships in Canada, Italy, Singapore and the USA. More than 4,500 joint replacements performed.